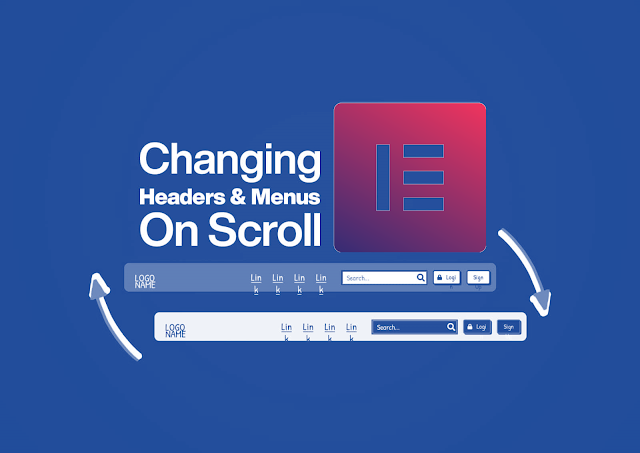
How to design Changing Headers On Scroll with Elementor Sticky Headers?How to Change Headers On Scroll with Elementor

This tutorial will show you how to change or switch headers when scrolling using Elementor's Sticky function.
How to Change Headers On Scroll with Elementor
What’s up website creators and Elementor enthusiasts! This tutorial will show you how to change or switch headers when scrolling using Elementor’s Sticky function.
There are two styles I will show you.
- A reveal style where the header animates up and down when scrolling
- And a fade in style
We will do this step by step so even beginners to Elementor and WordPress can add this effect to your website by the end of the video.
What is a Changing Header
A changing header is method of switching headers by using two headers. There will be an initial header that is your main header and starts off as the first header. Then when the user scrolls the webpage, a second header appears.
This method is an alternative to a single header with styles that change when scrolling. Personally, this is my favorite technique to use and has a few additional benefits to a sticky header.
Adding Multiple Elementor Sticky Header Effects
One of the biggest benefits is that you can make 2 totally different menus and not limited to the same layout. This is particularly handy with WooCommerce sites where more elements such as carts and accounts can be useful in the menu.
This also makes it easier to add different effects all in one such as a logo that changes or shrinks on scroll, background colors for a header that changes on scroll, and a completely shrinking header that is much thinner when scrolling. And all these can be done at once using this techniques of changing headers when scrolling using Elementor’s sticky effects.
What you need to follow this tutorial
To use the effect and method with Elementor, you will need Elementor Pro. If you don’t have it yet, here’s a link to get you started. No other plugins are required.
You will also need to add some CSS but don’t worry, I got you covered. Below I have added the CSS, and all you will need to do is copy and paste. I will show you where to place it and make this tutorial so simple that even non-techies can follow and make this work.
How Elementor Sticky Headers Work
Elementor sticky headers work because of Elementor’s sticky function. There is a ‘Sticky’ option in the Advanced tab under ‘Motion Effects’ on just about any element.
When this option is turned on and a value is given to the ‘Effects Offset,’ a special class is given to the element. With that class, we can use CSS to target and style that element.
Effects Offset
What Effects Offset does is that this determines how far to scroll the web page for the sticky effect to occur. For example, if you place 100 for the Effects Offset value, when the page scrolls 100 pixels, the effect occurs.
What the effect is, it’s the special CSS class, ‘elementor-sticky–active’. The class appears in the code when you scroll to the effects offset level. And the CSS that targets that class then takes effect.
So in changing headers, what we actually do is make the section of the secondary header sticky, hide the secondary header above the web page, or just make it disappear (depending on the style you prefer.) Then we write CSS that targets the class in the secondary header hiding to make it appear when the user scrolls to where we have it set in the ‘effects offset.’
Change Headers On Scroll with Elementor Tutorial
Step 1: Create header templates
We will make our headers in Elementor’s Theme Builder. From your dashboard, navigate to the left toolbar and under Elementor > Templates > Theme Builder. Add a new Header template.
If you are experienced with Elementor, you may already know how to build a header. If not, please see the walkthrough video at the bottom of this article.
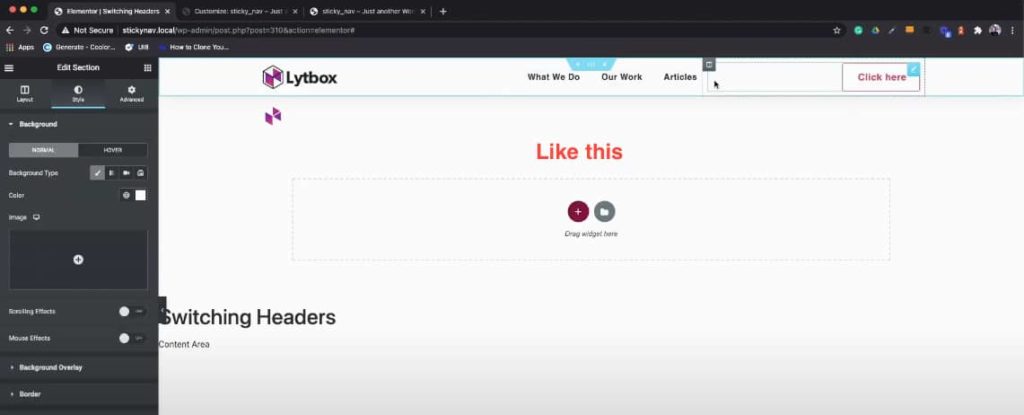
Step 2: Build both of your menus
In your header template, add both menus and style them up as you like. For your main header, add a 100 in the z-index. This will make sure it is on top of your banner.
Step 3: Add sticky function and CSS classes
In your main header, select the section it is in, navigate to the Advanced tab, and in the CSS Classes, add ‘header-1,’ and that will be the class for the section of your main header.
For your secondary header, this is the header that will appear on scroll, navigate to the section it’s in (same as the other header), go to Advance in the Elementor editor, and down to CSS classes. Add ‘header-2’ there, and this will be the class for your secondary header’s section.
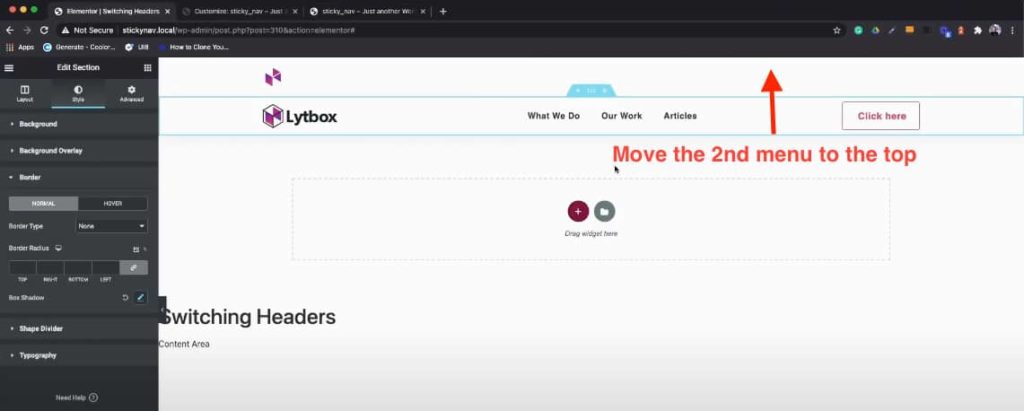
Step 4: Safari fix
In the testing, I found the menus weren’t switching smoothly on Safari, and having a smooth transition make a big impact. Here is the fix I used to make sure your menus change smoothly on Safari, Chrome, and Firefox.
It is simple. Move your secondary header to the top and make sure it above your main header. So header 2 will actually be on top of header 1.
Step 5: Adding sticky effects
We will only be adding the sticky effect to the secondary header. In the secondary header, navigate to the Section to edit > to Advance tab > to Motion Effects > under Sticky select ‘Top.’
Choose if you want a desktop, tablet, and mobile. I personally only use desktop and tablet, and I keep my mobile menus more simple. I think it is better for UI, but I will leave that up to you.
In the ‘Offset,’ do not touch and leave at 0.
In the ‘Effects Offset, this is where the magic happens. The number you put here is the number of pixels the web page would scroll until the effect takes place in the value box. You can play with this number and see what works best for you.
Just note, if you leave on 0, this will not work.
Step 6: Adding CSS
I recommend adding CSS in either your child theme’s style.css folder. You can find this by navigating in your dashboard to Appearance > Theme Editor. From your theme editor, make sure you have your child theme selected by checking the ‘Select theme to edit’ on the right toolbar.
If you do not have a child theme, you can add your CSS in the WordPress customizer. You can find this by navigating to Appearance > Customize > Additional CSS.
I try to avoid adding CSS in the Elementor editor because it can be disorganized and lost. Becomes a headache later in the future. It is always best practice to keep all code clean, centralize, and organized.
Here is the CSS
Since there are 2 styles, the slide down and the fade-in style, you will add only one of the CSS snippets below. Do not add both.
Option 1: The Reveal or Slide Down Header
[/* Slide In From The Top Option */.header-2 { transform: translatey(-80px); -moz-transition: all .3s ease!important; -webkit-transition: all .3s ease!important; transition: all .3s ease!important; } .elementor-sticky--effects.header-2 { height: auto!important; transform: translatey(0px); } .elementor-sticky--effects.header-1 { display: none!important; } /* End Of Slide In From The Top Option */]
Option 2: The Fade In Header
[/* Fade In Option */.header-2 { opacity: 0; -moz-transition: opacity .25s ease-out!important; -webkit-transition: opacity .25s ease-out!important; transition: opacity .25s ease-out!important; } .elementor-sticky--effects.header-2 { opacity: 1!important; } /* End Of Fade In Option */]
Step 7: Safari fix part 2
After adding the CSS, your secondary header should be hiding, and everything works fine.
But…because of the Safari fixe, there is extra space above the main menu. It is a simple fix. In the main menu’s section, give the top margin a negative value. It should look like a -80px in the top margin. Give or take a few pixels.
Step 8: Style for mobile
For mobile, there are a couple options. Either leave the switching menus for mobile active. Or, you can hide both menus for mobile and create a 3rd menu just for mobile. It will take a bit of work, but luckily Elementor rocks and makes it easy to style up.
Changing Headers On Scroll with Elementor – Video Tutorial
If you followed all the steps above and something did not work, or you got stuck somewhere along the way, no problem! I got you covered. I also created a step-by-step walkthrough video to help simplify.
If you have any questions, drop them in the comments below, and I’ll get back to you. Cheers!


COMMENTS